© 2024 Gleap GmbH. All rights reserved.

February 29, 2024
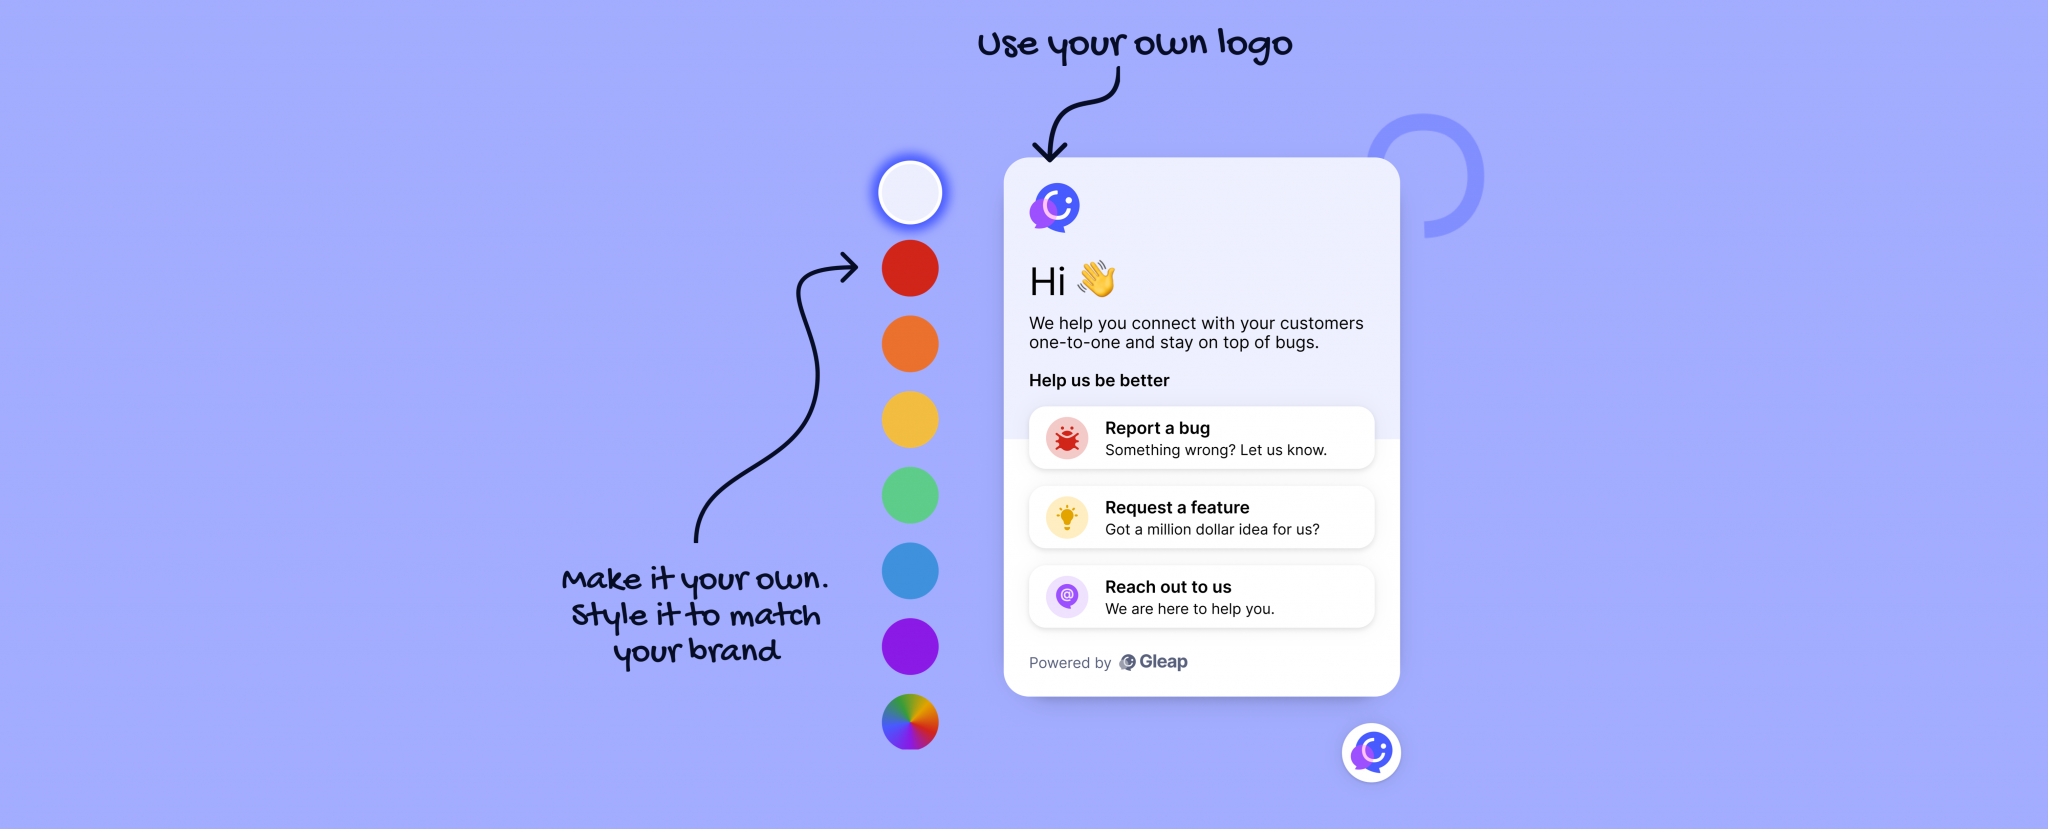
The only thing easier than squashing bugs with Gleap, is getting our widget up and running. All you need to do is add one line of code and just like that our widget appears on your website or in your app. The best part however is that you choose what the widget will look like. You can style it to match your brand, translate it to various languages and even set a specific event to trigger the feedback flow. This is a brief guide on how to get the most out of customizing our feedback widget.
Under the customize tab in our widget configurator there’s really nothing you can’t do. In the look and feel section you can easily set the color of your widget and upload your own logo for Gleap to perfectly blend into your app or website. For all of you who use our web SDK it gets even better: You can visually choose where to display the feedback button (no coding needed) and you can adapt the launcher icon. Finally, if you’re a Growth plan user you can remove the Gleap branding. Et voilà, the widget completely matches the style of your brand.
Pro Tip: Find more information on how to style the Gleap widget here.
Every text in the Gleap widget can be changed and translated. Let’s start with changing the texts: Under menu options you can modify all the texts associated with a feedback flow. How you communicate with your users or customers is completely up to you. If you then navigate to settings and translations, that’s where you set the language for your widget. Here you can both manage translations by choosing a language from the dropdown menu and adapting the set translations or you can add a new language by clicking on the add language button. As I said, we try to leave as much up to you as possible.
Pro Tip: Find more information on how to translate texts in the Gleap widget here.
The widget configurator also lets you take full control over your menu items. As mentioned, you can modify questions and action items under the menu options tab, but you can also change their icons, add additional flows, remove others or even hide the menu completely. If you want to take the customization one step further, you can build your own flows in our settings section under feedback flows. You can think of these flows as form steps triggered once the user clicks on a menu item. A bit like a survey you guide them through. In this section you can adapt everything from texts, question types all the way to the data you want Gleap to collect with each report.
Pro Tip: Find more information on how to take control over your menu items here.
The developer options tab in the feedback widget configurator allows you to turn advanced settings, such as video replays, logs or crash and rage click detectors on and off. This is also the place where app developers set the gesture they want to trigger the reporting flow with. With a simple toggle, you can choose between the shaking and the screenshot gesture. Users love it.
Pro Tip: Find more information on advanced options for developers here.
Start making the feedback widget your own and get in touch if you have questions or ideas on how to make the process even smoother.